
Bottle labelling guide
Bottle labeller sample testing checklist.
Prepare the samples and label rolls needed to confirm a bottle labelling machine route.
Send representative containers.
Samples should represent real production. If the filled bottle behaves differently from the empty bottle, both should be supplied. Include all sizes that must run on the machine, not just the easiest pack.
Send actual label material where possible.
Artwork proofs are useful, but actual label rolls are better for checking sensing, dispense, backing release and adhesion. Clear labels and difficult backing papers especially need testing.
Define what success looks like.
Before testing, agree the label position, tolerance, output, changeover and any coding requirement. This prevents a trial from becoming a vague demonstration rather than a specification check.
Checklist before you enquire
- Filled and empty samples
- Smallest and largest bottle sizes
- Actual label roll or material sample
- Front and back label rolls if relevant
- Clear labels or special materials
- Required label position tolerance
- Target speed or output
- Photos of current production process
FAQ
Common questions.
How many samples should I send?
Enough to test set-up and repeatability; Lancing can advise based on the application.
Are empty bottles enough?
Sometimes, but filled bottles are better when weight or rigidity affects handling.
Why send actual labels?
The machine must sense and dispense the real label material.
Can sample testing confirm every detail?
It can reduce risk and narrow the machine route, but final specification still depends on the full production requirement.
Next steps
Related bottle labelling pages.
Sample testing record for bottle labelling projects.
A useful sample trial records the exact bottles tested, the label roll used, the sensing method, the machine route, the operating approach and the presentation issues observed. Avoid publishing unverified performance figures; keep the record tied to the actual samples and conditions.
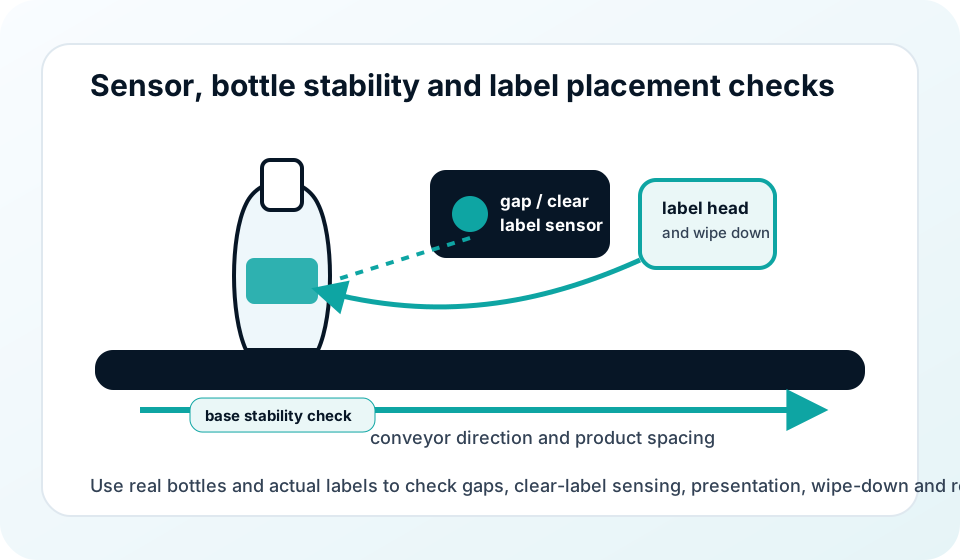
Details to include with your labelling enquiry
- Container: diameter or panel width, height, material, base shape, taper, shoulder shape and whether the container is empty or filled during labelling.
- Label: width, length, gap, roll direction, core diameter, liner type, transparent/opaque material and whether overprinting is required.
- Line: target output, operator involvement, conveyor direction, available space, coding position and any upstream filling or capping equipment.
| Question | Engineering reason | Next action |
|---|---|---|
| Is the container round, flat, oval, square or tapered? | Shape determines whether rotation, side guiding or top/bottom transfer is the main control point. | Compare machines |
| Is the label clear, metallic, small, wraparound or front/back? | Label material and gap determine sensing and setup checks. | Review sensing |
| Has the label roll already been printed? | Roll direction and artwork orientation may affect machine compatibility. | Check roll direction |
| Is presentation critical? | Premium labels, front/back matching and clear labels should be checked with samples before final specification. | Prepare samples |
For round bottles, start with wraparound labelling. For flat, oval and square containers, review front and back labelling. When in doubt, send photos and dimensions and Lancing can identify the better machine route.
Ready to have a labelling project checked?
Send bottle samples, label details or photos and the production target so Lancing can narrow the route.